
Table of Contents
The first IDE I used for Python programming was PyCharm Community Edition with Windows and Mac. Recently I installed Ubuntu to play around and had to move my Python code to Ubuntu. I set up PyCharm Community Edition on Ubuntu because I was familiar with the environment.
If you are a beginner and confused about what IDE you should be using for Python, read our IDE comparison article. If you are an android user and looking for Python IDE for android, read the article.
In this article, we will go through the installation process, which is a bit different from other operating systems.
[Method 1] Installing PyCharm using Snap package [Easy]
The first method is quite simple, I used a snap package. If you are a terminal lover, you can run the following command directly from the terminal to install PyCharm. This will install the PyCharm community edition on your Ubuntu.
Snap command to search for PyCharm installer package
snap find command shows all the available packages for PyCharm. I can select the version according to the license I have.
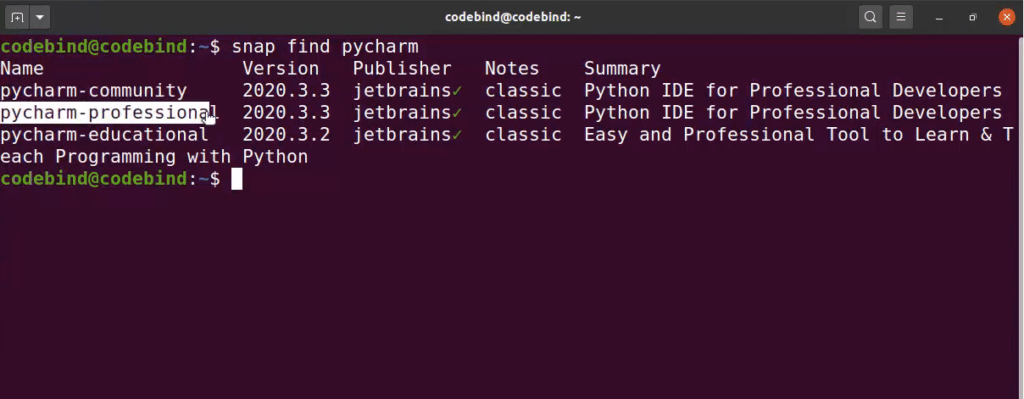
sudo snap find pycharm
Snap command to install PyCharm community edition
In my case, I selected the community version, which is free for students and personal use. Running the following command will install the Pycharm
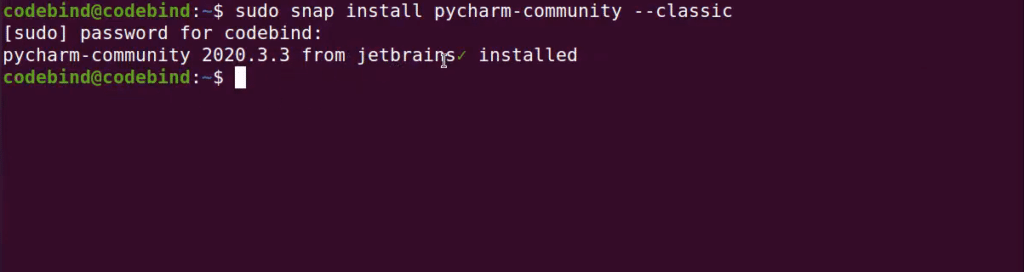
sudo snap install pycharm-community --classic
Before running the above command, make sure the Snap is installed on Ubuntu. If Snap is not already installed, you first have to install it using the following command
sudo apt install snapd
[Method 2] Install PyCharm using umake [Easy]
Ubuntu has an excellent console utility called umake that developers can use. This allows you to install not only PyCharm, but also Android Studio, Visual Studio Code, Eclipse, and developer tools.
umake must be installed on your system before you can use it. umake is not installed by default on my Ubuntu 19.10 system but is available in the repository. To install it, simply run the following command, add sudo if you are not a root user.
apt-get install ubuntu-make
You can also connect the repository to get the latest stable version of umake and update the package:
add-apt-repository ppa:ubuntu-desktop/ubuntu-make
apt update
Now, install PyCharm Community Edition:
umake ide pycharm
[Method 3] Install PyCharm using the Official installer from JetBrains
This method is a little log and time-consuming. In this method, you have to download the install file from the JetBrain website
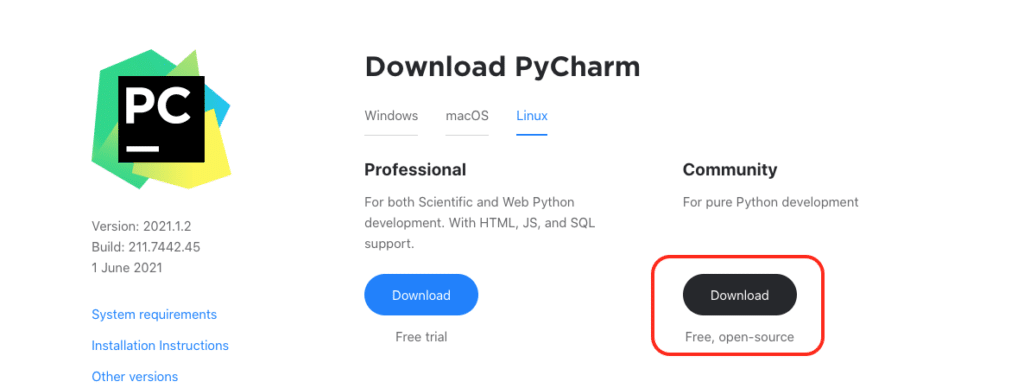
step1: Open the download section and download the file.
Click here to open the download page. You can download the appropriate edition according to your license. The Professional edition has more features but it comes under paid license. For this how to guide, I will download the community edition, which is free.
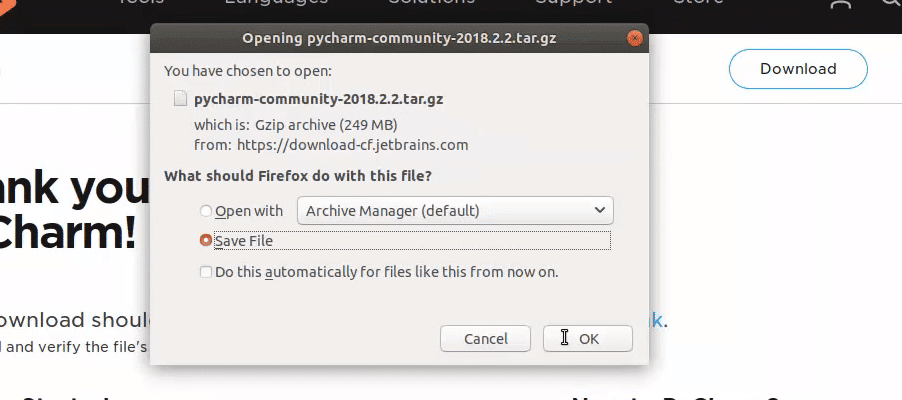
Step2: Save the file on Ubuntu
Once you click on download, you will be prompted with a window to save the file. Save the file on your local drive.
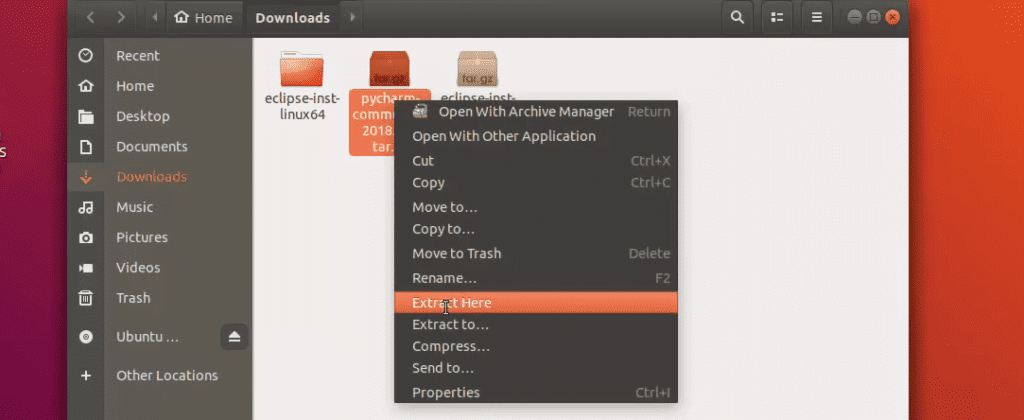
Step 3: Untar the installer
After downloading the file, go to the folder, right-click on the tar file and select ‘Extract Here’. This will extract the content of the file in the folder. You can also use the tar command from the terminal to untar the file.
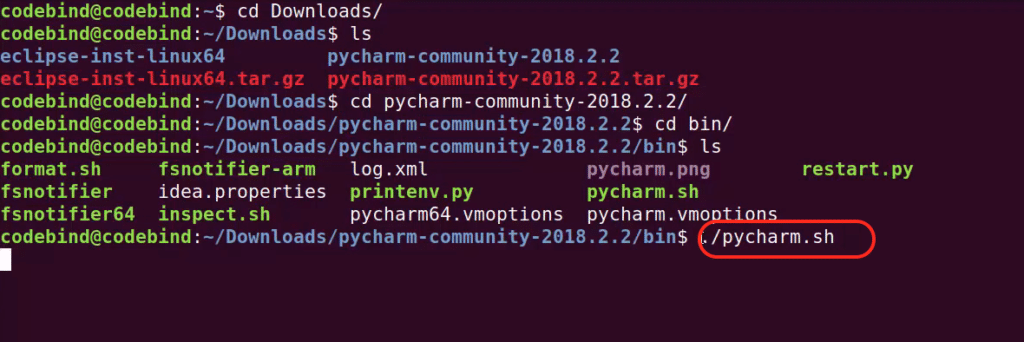
Step 3: Run Pycharm.sh
Open the extracted folder, go to the bin folder and run the pycharm.sh in the terminal. To open terminal, press ctrl + alt + t . In the terminal run ./pycharm.sh to run the script file.
Once the installation starts, it will ask, if the user wants to import any previous installation settings. I’ll keep the default which is “Do not import settings”.
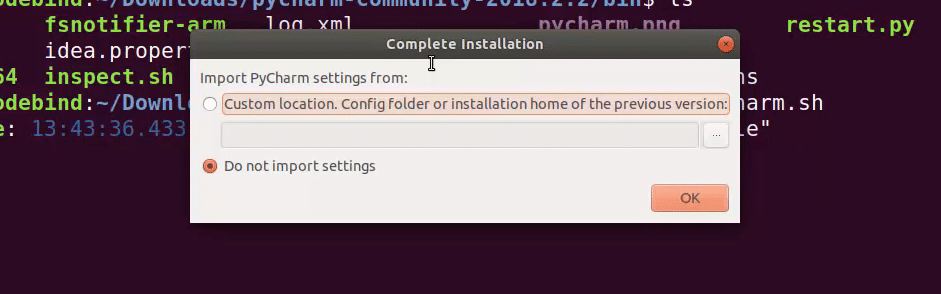
After the installation is done, you can customize the PyCharm and enjoy using it for your Python programming.